Sensory bins are one of my favorite activities to do with my kids, and especially my toddler. If you are particularly new to sensory play, check out my blog post Powerful Sensory Play: The Best Activities and Huge Benefits.
Throughout this post, I will teach you how to make your very own sensory bins. While they may seem a little overwhelming at first, I promise they’re super easy. Here are my 5 ultimate steps to make a fun (and simple) sensory bin.
- Firstly, pick a theme for your sensory bin
- Secondly add Toys and trinkets
- Add filler
- Add tweezers and/or containers
- Finally, Let your toddler play!
Let’s get started on making some great sensory bins!
Disclaimer: This post contains affiliate links. When you click these links, I may get a small commission. It won’t cost you anything, but it helps me to run this site. I only promote products and services that I think are great. Having been an educator for over a decade and a parent myself, I use my experience to judge whether a product is worthy. So, you can be assured that I always have your best interests at heart.
1. Pick a theme for your sensory bins
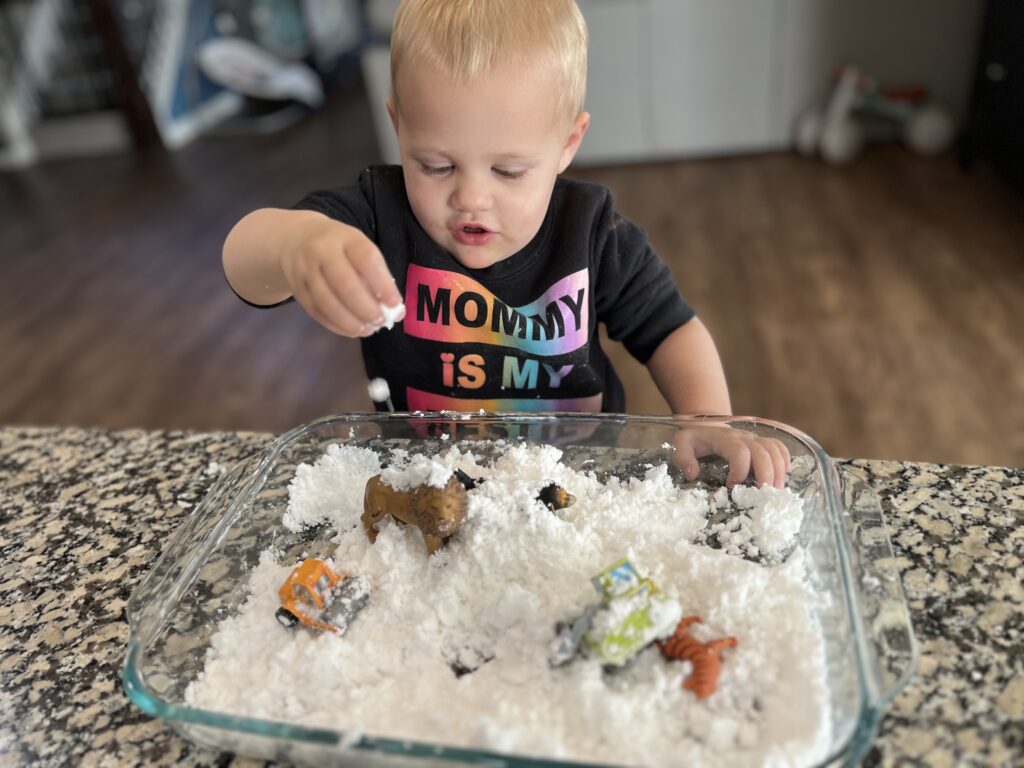
The first step in making a sensory bin is to pick a theme. One idea is is to base it on something going on around you. For example, this could be an upcoming holiday like my Valentine’s Day sensory bin. In contrast, you could use the current season like in my Leafy Adventures fall sensory bin. Another idea is to base it off your child’s interest. For example, my toddler was getting really excited about snow, so I decided to make a snow themed sensory bin for her (also part of my Arctic Activities post).
2. Add toys and trinkets to your sensory bins
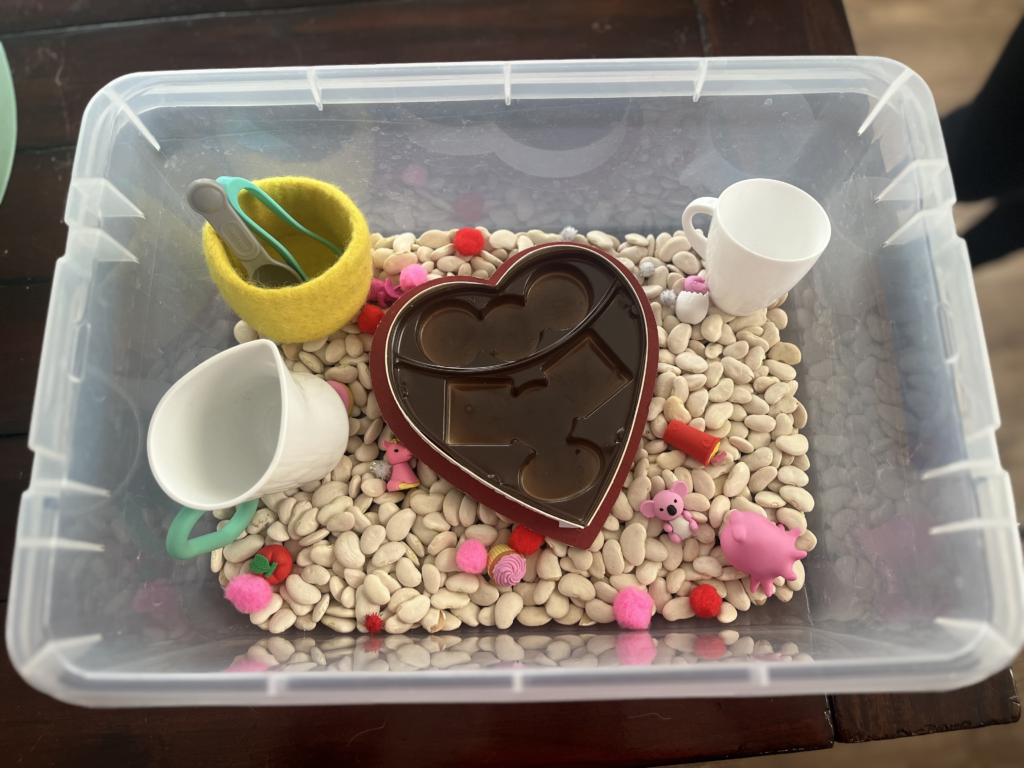
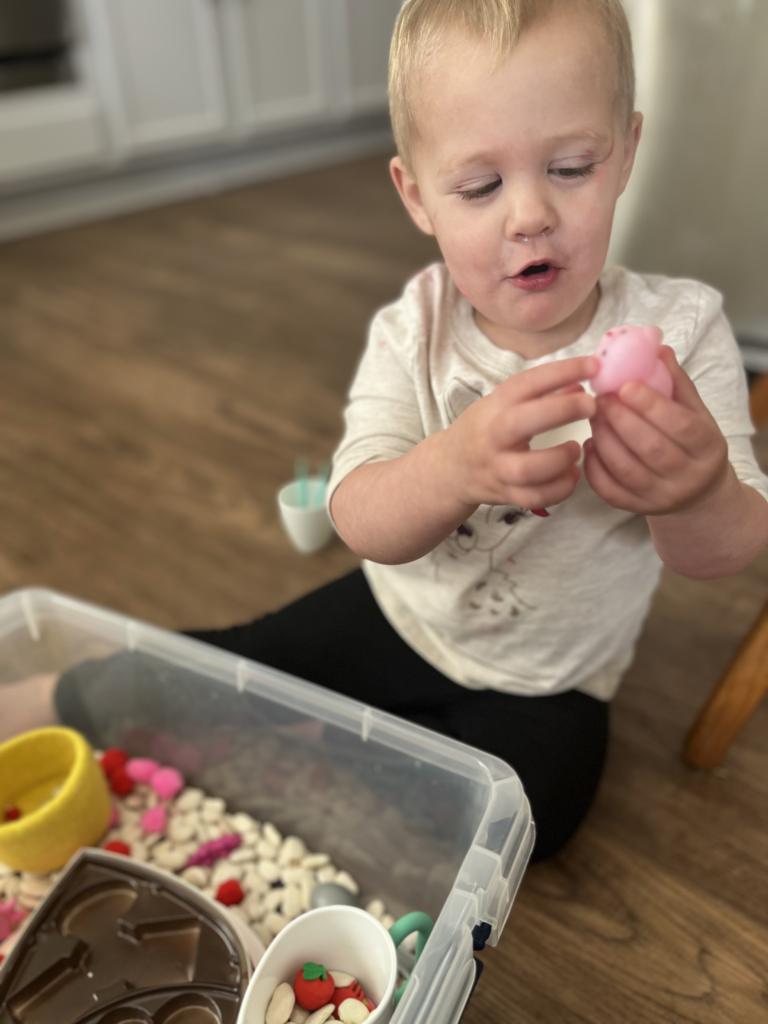
The next step in making your sensory bin is to add toys and trinkets. Additionally as you find things to add, you really want a variety of sizes, shapes, and textures. Keep these related to the theme as much as possible. For example, for my Valentine’s Day sensory bin, I tried to find toys and craft items that were pink or red. I also used an empty chocolate box for her to drop things into.
3. Filler for sensory bins
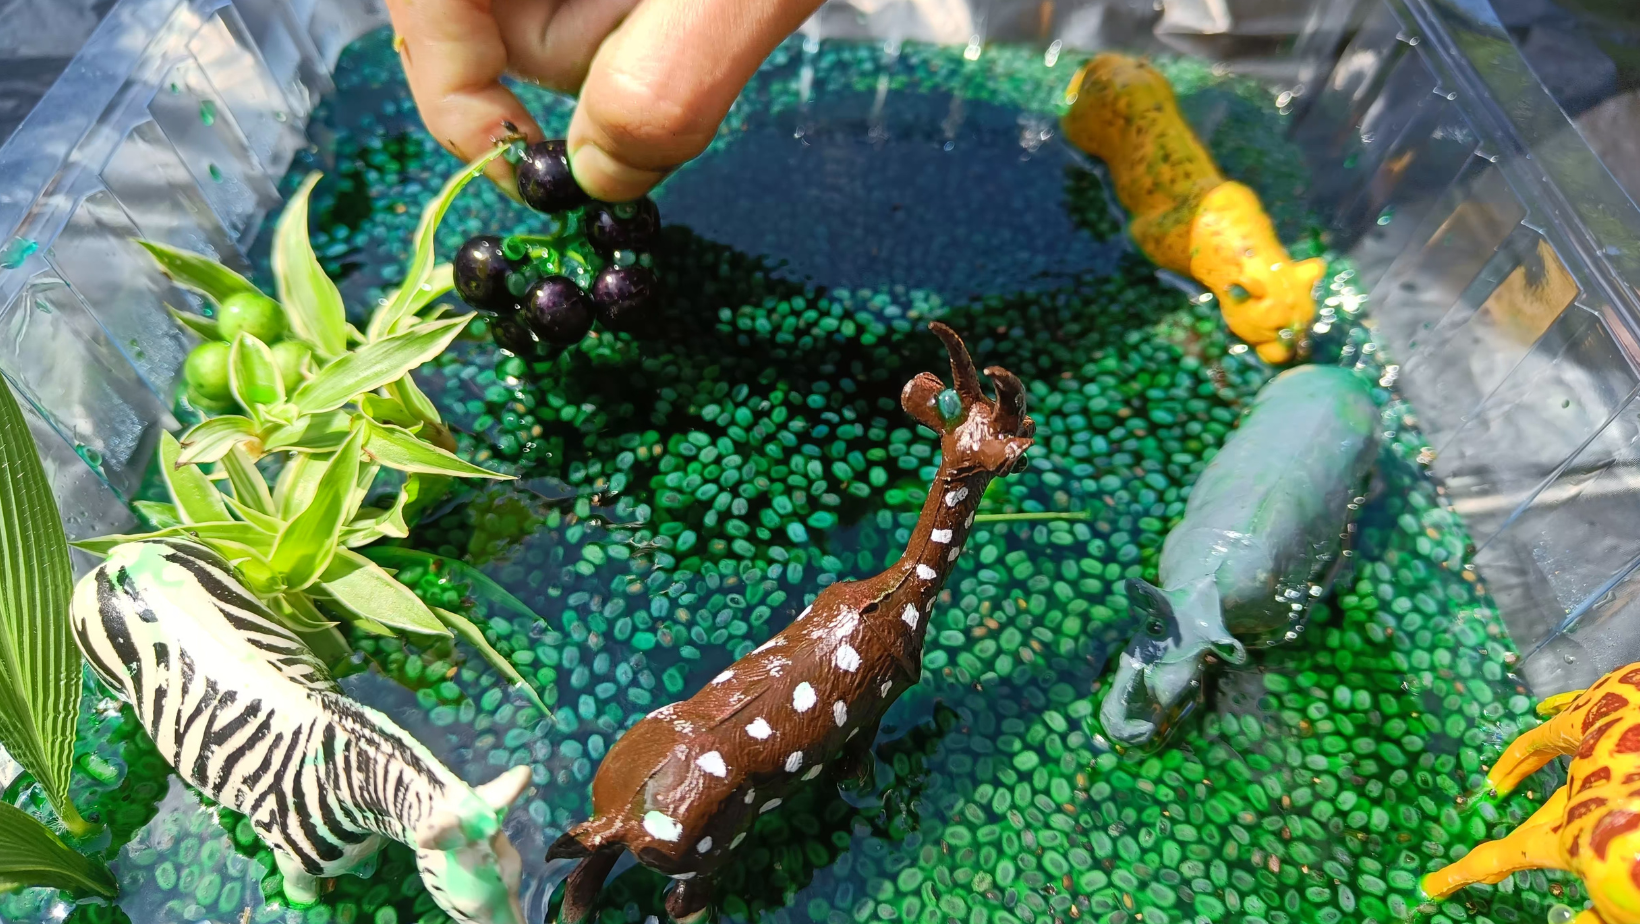
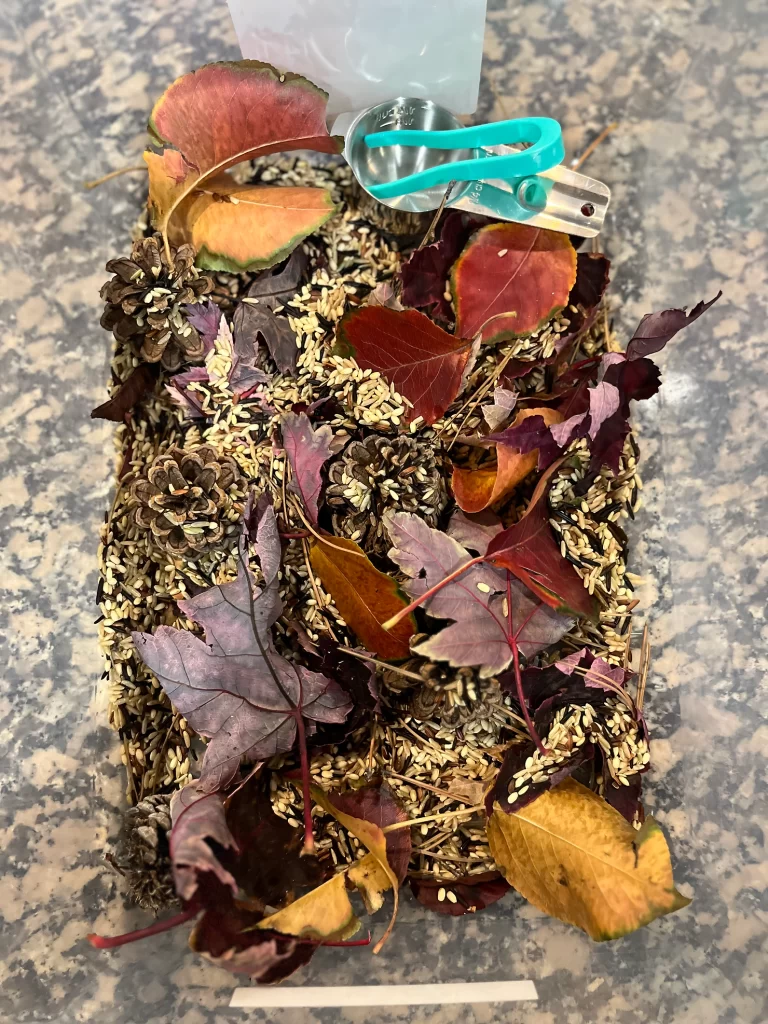
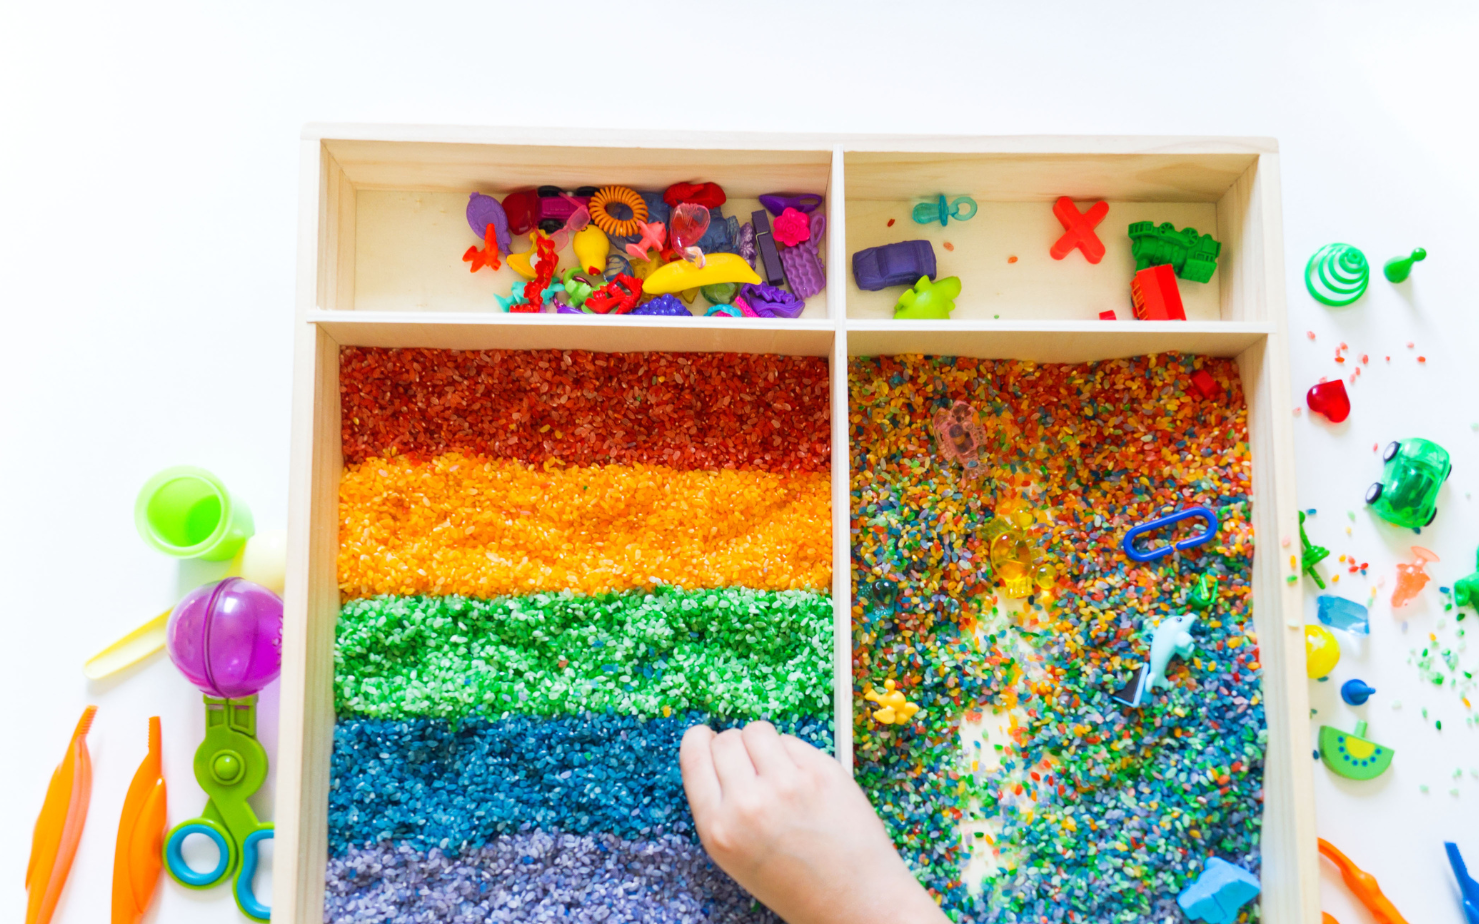
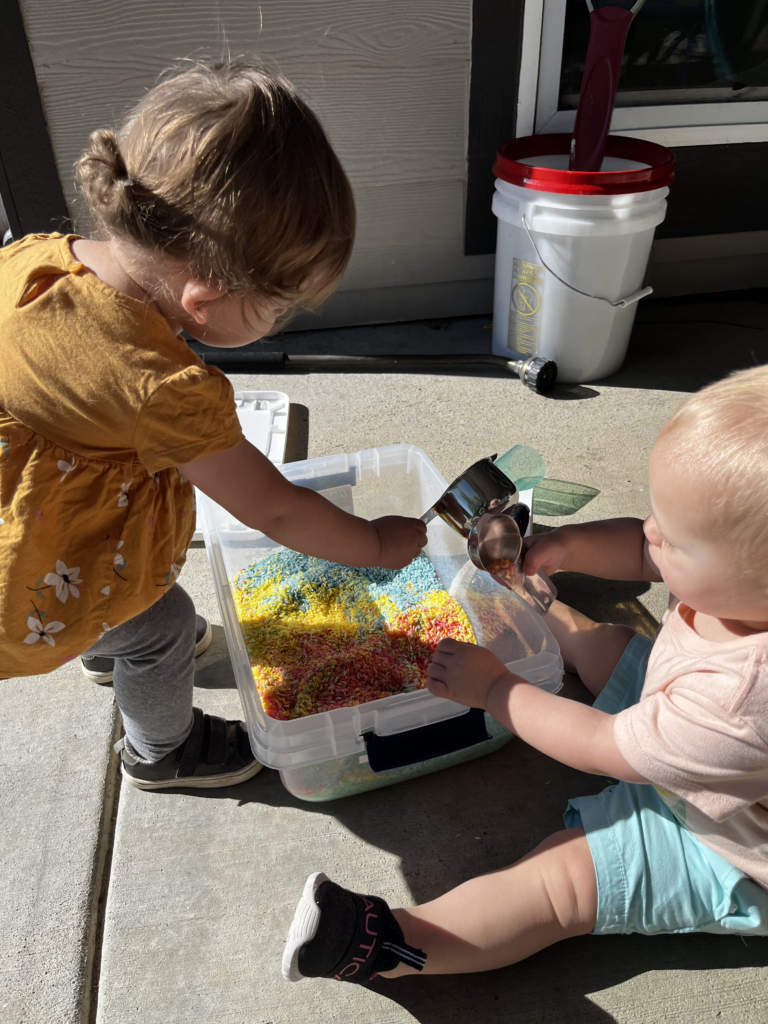
One of the most important parts of a sensory bin is the filler. Filler can be anything small that can be scooped and poured as well as generally fill the space. For example, in my Leafy Adventures sensory bin I used wild rice I had lying around. I’ve also made a sensory bin that was focused around rice that I had dyed several different colors. This one was a big hit! Additionally, I used white lima beans as filler in my Valentine’s Day sensory bin just to have a big contrast with the pink and red items I had included. Moreover, additional filler ideas are dyed oats, noodles (cooked or uncooked), and water beads for older kids.
In contrast to using filler in many of the sensory bins, some of them don’t need any. For example, the snow sensory bin I created didn’t need any additional filler since the snow itself filled the bin.
Learn how to dye filler materials at Real Play Kids.
4. Add tweezers and/or containers
Ultimately, you want to provide your child with opportunities to develop their exploration skills as well as things such as fine motor skills. Therefore, you need to add some items to the bin to ensure they are practicing these skills. I really like this sensory kit and this fine motor kit. They both provide your child with a variety of things to explore with and build the muscles in their hands, which will support them when they start writing and cutting.

5. Let your toddler play!
Finally, the last step in making a sensory bin is to let your toddler actually play with it! Finally, I strongly suggest letting go of the desire to keep your house or their area clean. Therefore, it is going to get messy and that’s ok. If they are making a mess, it means they’re having fun! So, consider a mess a success!
Let’s Wrap It Up
In conclusion, I hope this post has helped you better understand what sensory bins are and how to make them. Additionally, I hope you feel confident enough to try one out for yourself! Try it out and comment below to let me know how it went.
Here is a consolidated list of the materials I referenced in this post:
- A box/container
- Filler (rice, oatmeal, beans, etc.)
- Toys
- Sensory Kit
- Fine Motor Kit
Did you find this useful?
Check out more of my ideas and resources!
This blog came out of the work I did with my husband to start our business Kids’ Night In. At Kids’ Night In, we provide parents with a childcare option when others are closed, including after hours, weekends, and school breaks. Check us out if you live in the Aurora, Colorado area!